² Transfer Mechanism : Native mode transfers data by default in your scanner. Buffered memory mode scans in resolutions of 600DPI and above.

Ø Configure scanner:
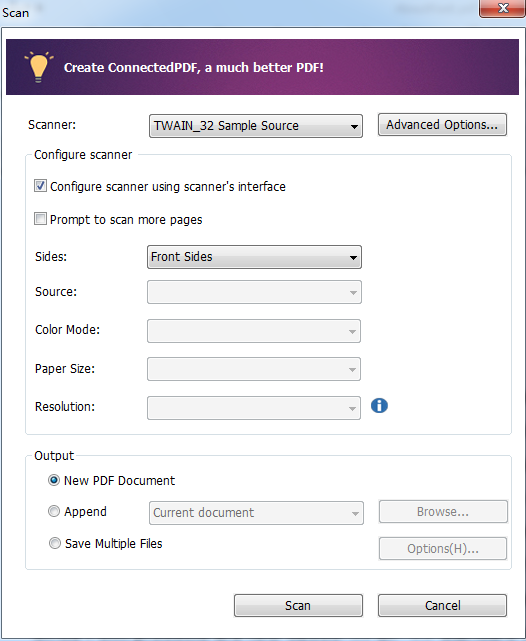
² Configure scanner using scanner interface : Check this option to directly use the scanner interface to scan . The following items (i.e. Source, Color Mode, Paper Size and Resolution) will not be available.
² Prompt to scan more pages : Selects this option, a dialog box will pop up to ask you whether to scan more pages whenever the scanning completes. If the option is unselected, for single-sided printing, you’ll not be prompted once the scanning completes.
² Sides: Specify single or double-sided scanning. If you select Both Sides but the settings of the scanner are for only one side, the scanner setting overrides the Foxit settings.
² Source : select the input source for scanning, including Auto Detect, Feeder, and Flatbed. If you select Auto Detect, Foxit Reader will detect the input source for scanning automatically. If documents are placed in both feeder and flatbed, both of them will be scanned, but the one in feeder will be scanned first by default.
² Color Mode (Windows only) : select a basic color mode (Color, Black and White, Grayscale or Auto Detect) supported by your scanner.
² Paper Size (Windows only) : select a paper size.
² Resolution (Windows only) : select a resolution supported by your scanner.
Ø Output:
² New PDF Document: Output the scanning results as a new PDF document.
² Append : Append the converted scan to an existing PDF file. After selecting this option, click Browse to find and select and existing PDF file from your local disk.
² Save Multiple Files : Save the scanning results as multiple PDF files. After checking this option, click Options to specify the number of pages for each file and the filename prefix.
